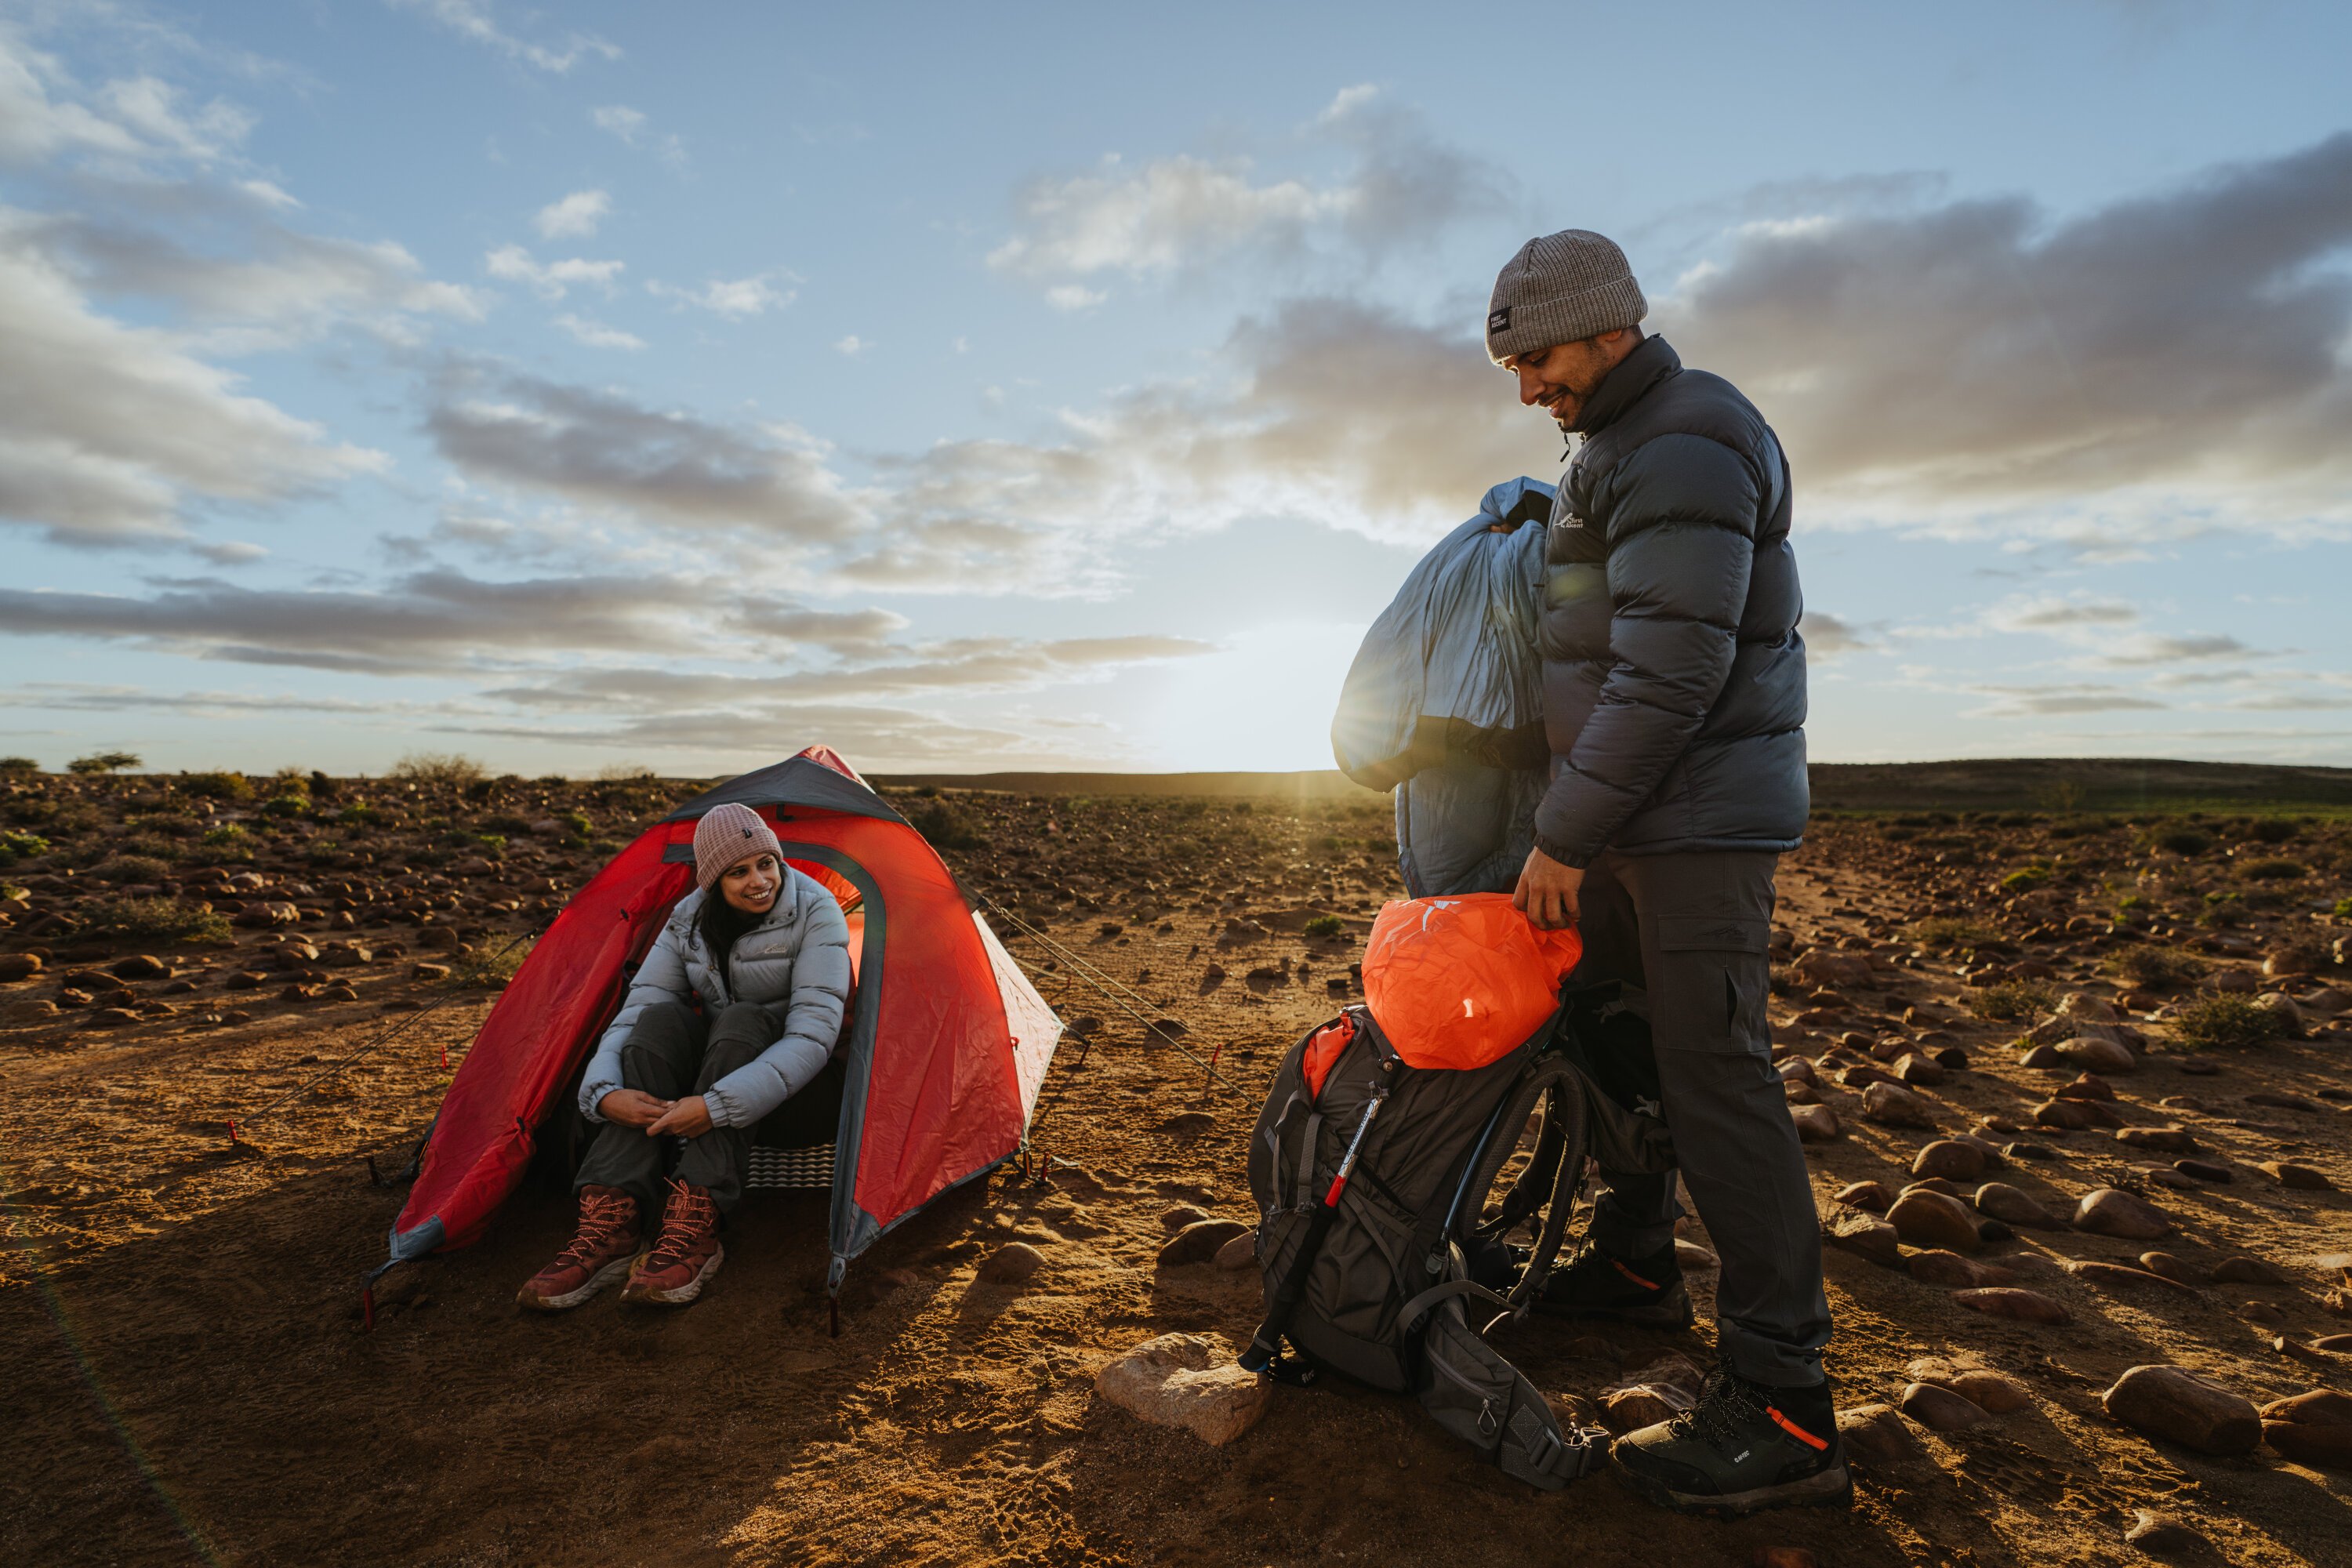
Embarking on a multi-day hike is an adventure like no other. There is nothing better than taking a break from the world of screens and immersing yourself in nature. However, before you hit the trail, you need to pack your bag. Your pack will carry your food, shelter and warmth for the duration of your trip whilst you’re out in the wild exploring those stunning landscapes. A well-organized backpack can make or break your experience on the trail, determining your comfort, safety, and overall enjoyment.
From organising your pack efficiently to selecting the essential gear and supplies, we'll cover it all. Whether you're a novice hiker or a seasoned trailblazer, these tips and insights will help you optimize your backpack's contents, ensuring you're well-prepared for any challenges the wilderness might present.
Preparing for Your Trip
The most important rule of packing for a multiday hike is to spread the weight of your pack as evenly as possible to maintain your centre of gravity. You’ll otherwise find yourself tipping to one side, and putting extra pressure on one side of your body - which is likely to be sore later on. Not only that, but a well-packed pack can also make you safer - if not packed correctly it can make it harder for you to maintain your footing on technical trails, or inclines.
Take into consideration the max capacity of your bag and try to pack as lightly as possible - if you overpack, the weight support systems and padding won’t work as well as they should, and the bag is at risk of breaking. The rule of thumb for a multi-day hike is that your pack should weigh less than 20% of your body weight.
It’s a really good idea to make a list beforehand and then lay it all out before packing it in. Start off by considering where you’re going, when and for how long. Winter may require a heavier tent and sleeping bag, as well as more food and fuel, meaning a heavier and potentially larger pack. You won’t need a new outfit every day, but having the right layers is key (i.e. a fleece or soft shell for colder weather).
Carefully consider the food you’ll take and whether you’ll have options for a food drop/shop/farm stall on the way. If you’re carrying all your food for the entire trip be very critical of what you’re packing, and focus on high-energy foods - you’ll need about 700g - 1kg of food per person per day.
Also, think about your tent choice when hiking with others - it may be better to take a two or three-person tent and split the weight or take turns, rather than each carrying your own - it also means less camp admin setting it all up.
Our top tip - using dry bags to section out your bag is essential. Nothing is worse than your items getting wet - just the thought of wet socks and soggy feet can make anyone cringe. You’re carrying all your belongings, you don’t want to have to stop to wait for them to dry, or spend your trip constantly damp. Your sleeping bag especially - not only will it lead to an uncomfortable night’s sleep, but it can also get dangerous in freezing conditions when your greatest form of warmth is compromised.
How to Organise Your Pack
An easy way to organise your packing is to divide your bag into five sections:
Bottom - Midweight items + sleeping system
Outer middle - lightest items
Inner middle - heaviest items
Top- lighter items you may need to access quickly
Outer pack - items you’d like on hand
*Make sure your packs compression straps are as loose as possible before you start packing
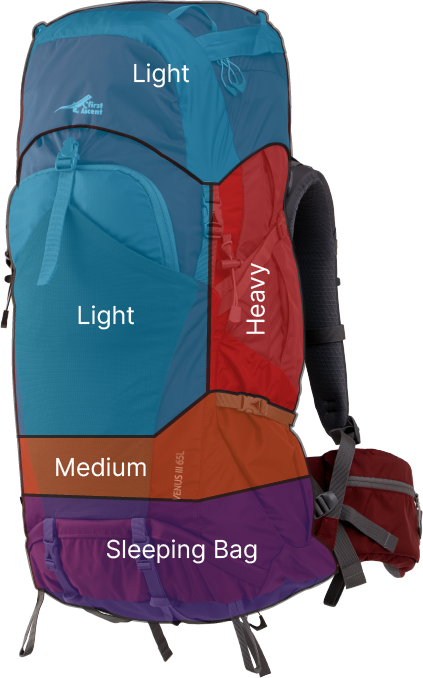
Section 1: The Bottom
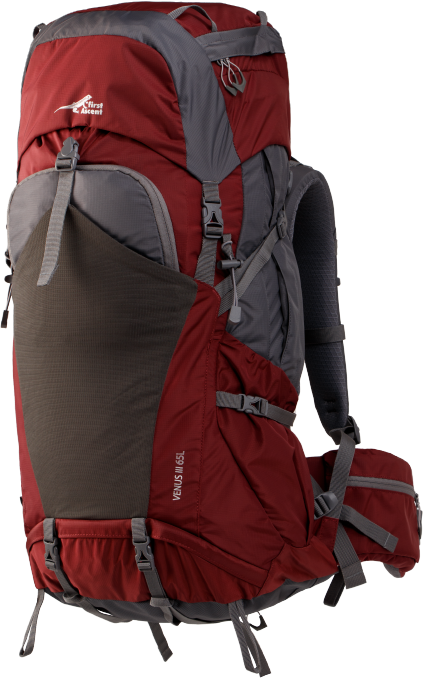
Your sleeping bag should go at the very bottom of your back. In some packs (like the Venus III and Jupiter III) the bottom compartment has its own zipper access point so you can get to your sleeping system easily. You can keep it in its stuff bag, or stuff it down as is. If you have a compressible sleeping mat and/or pillow, those go here too. You can use clothes you’ll likely wear at camp to fill in any extra space. (A good bit of advice here is to also use a dry bag to store your sleeping bag in - can also be used as a pillow at night when filled with your extra clothes)
Section 2: The Middle
This is where the bulk of your food and clothing goes. Try to pack smart, with the heaviest items closer to your back, and the lighter items further away from your body. Heavier items include your stove and fuel, your tent body and poles if they fit, cookware, and food.
Organise your items top to bottom in the order you’ll use things, i.e. clothing for tomorrow is up top, and easy access to food items. Make sure to use all available space - eg. stuffing your dishware or clean socks into your pots. You can wrap your clothes around hard items or gear that might shift around to keep your pack compact.
Depending on your pack, your hydration system will fit in different places, but it’s generally in the middle. Our Venus III and Jupiter III bags have a built-in hydration pack pouch on the both the side expandable pocket, and the inner bag to make it easy for you.
Section 3: The Top
The top of your pack, also known as the pack’s brain, is where you put the things you want easy access to - think toiletries, headtorch, sunscreen, first aid kit and water purification tablets. Everything here should be fairly lightweight as you don’t want your pack to be top-heavy, but you also want to keep essentials here so that you don’t have to unpack everything when you need access.
On an overcast day, make sure your pack’s rain cover is nearby. First Ascent multi-day packs have red rain covers built-in and attached at the bottom of the pack. The red also makes it ideal for any emergency situation.
If you have a bulky lightweight item like a sleeping pad that doesn’t fit easily, you can use the space between the lid and the pack to sandwich it into place. When the pad is secure, tighten the straps that connect the lid to the pack.
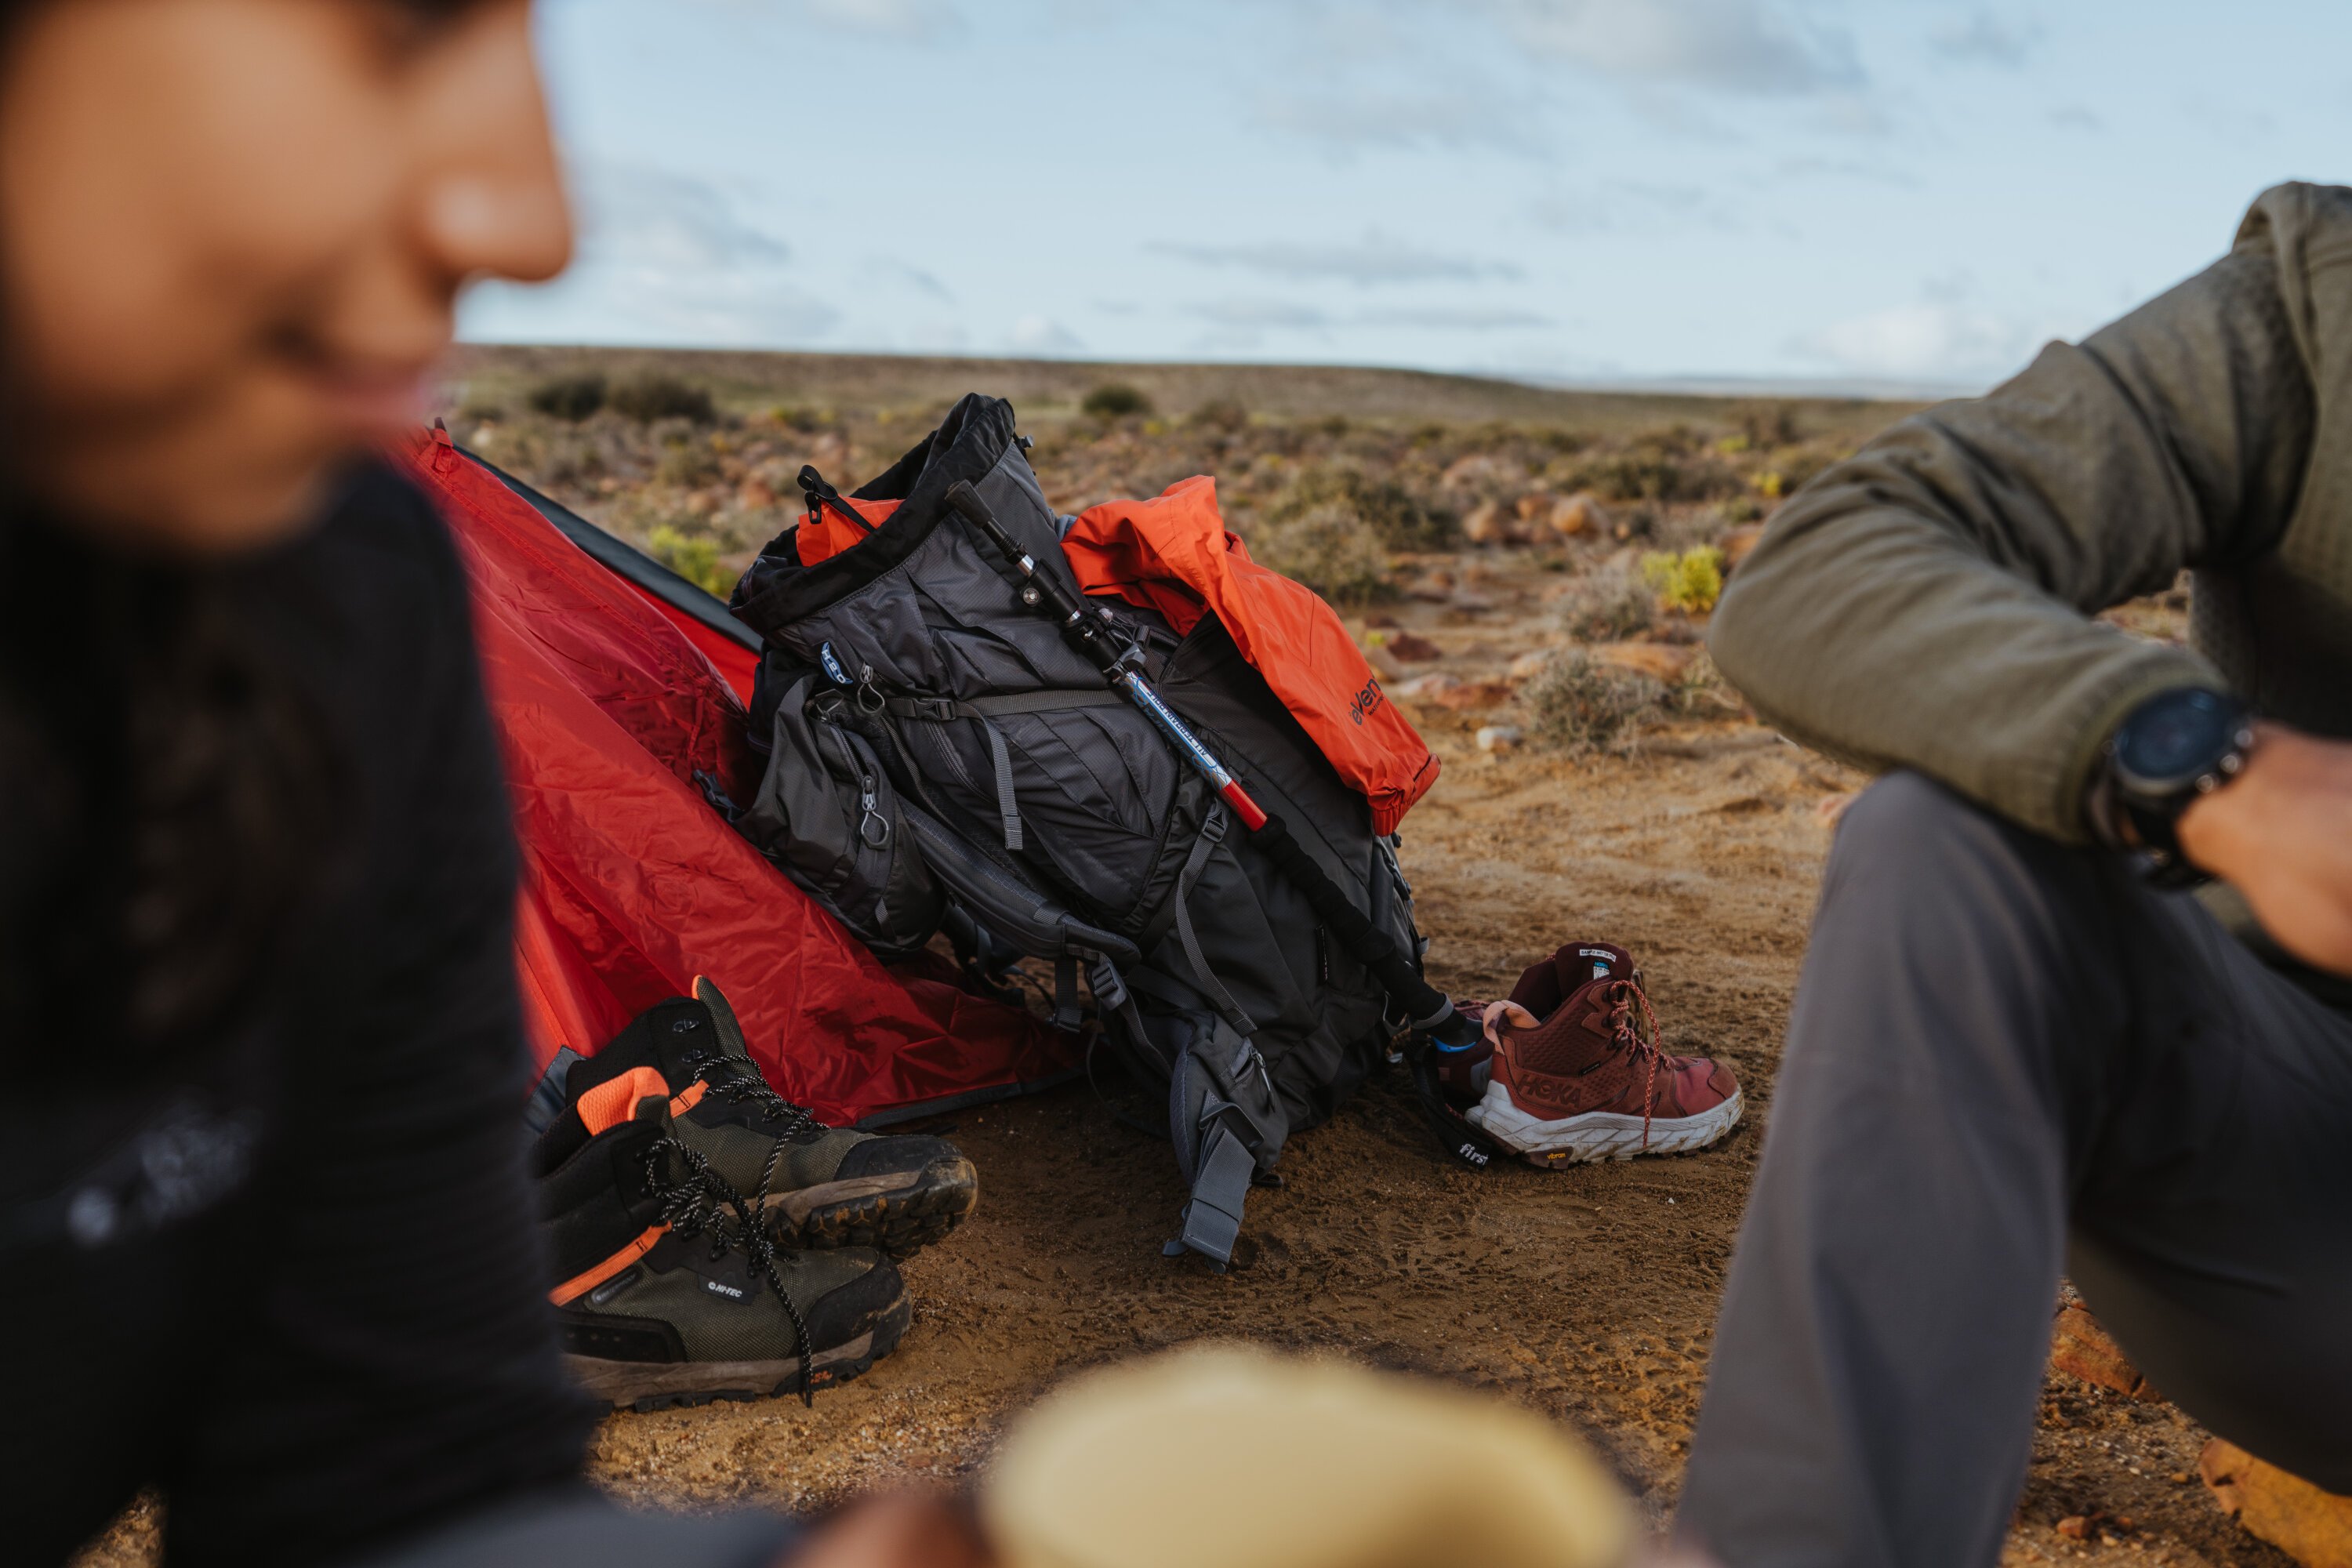
Outer Pack
Each pack is different, but many have additional outer pockets. Use these to keep lightweight items you’ll need access to whilst you walk, so you don’t have to stop and take your pack off each time.
Side pockets can be used for additional bottles (rather than keeping them in your pack where they might leak), and the front stuff pouch is great for your all-important snacks. Many packs have handy side pockets on the hip belt which is perfect to keep items you’d like regular access to, such as an energy bar, lip balm, your GPS, your phone and/or camera.
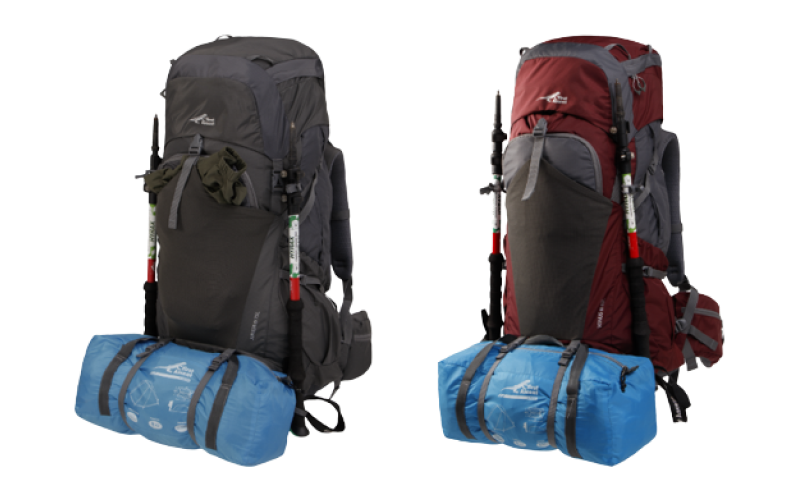
You can use your pack’s loop system to store additional bulky items that don’t fit into your pack, as well as your trekking poles if you’re using any. You don’t want to rely on your loops too much though - all the dangly bits can get annoying fast, make noise and catch on to bushes, trees etc. whilst you walk. Our Ibex II Trekking Poles (HYRAX Carbon Poles) are collapsible, keeping them compact and easy to carry when not in use. You’ll probably want to keep your spade on the outer pack. Dirty and muddy camp shoes can either hang at the back or go into a plastic packet in your bag.
What to Pack for a Multi-day Hike
Absolute essentials
- Tent (if sleeping outdoors)
- Sleeping system (sleeping bag + mattress/ sleep pad)
- Hydration (and backup water treatment tablets if needed) - camelback + soft bottles
- First aid kit
- Headtorch and batteries
- Sun protection: Sunscreen and hat
- Waterproof jacket
- Waterproof pack cover
- Compass/ GPS/ Garmin/ Map
Other essentials
- Toiletries (toothbrush, soap, shampoo etc. - make sure what you take out into the wild is biodegradable)
- Cookware and utensils
- Gas cooker
- Lightweight towel
- Spare socks and underwear
- Toilet paper in ziplock (+ziplock to carry used ones)
- Repair kit (tents + mattresses usually come with one)
- Spare packet for personal trash (if no access to bins along the way)
- Matches/ lighter
- Pocket knife
Nice to haves
- Down Bootie Slippers
- Air pillow
- Portable charger
- Sleeping bag liner
- Camera
- Camp activities: tennis ball, fishing rod, drawing supplies etc.
- Binoculars
- Trekking poles
- Spade (to bury natural refuse)
Clothing
- Hiking shirts (long to keep your arms out of the sun)
- Extra layers: softshells or fleece
- Hiking pants
- Hiking boots or trail shoes
- Waterproof jacket
- Hat
- Sunglasses
- Bandana or buff
To wrap up, the most important thing to remember when packing is to make sure you spread the weight of your pack as evenly as possible. An easy way to do this is to divide your bag into four zones or sections, with midweight items at the bottom, the heaviest items close to your back in the inner middle, lightweight items in the outer middle, and lightweight items you’ll need easy access to at the top.
It’s a good idea to plan your packing carefully before putting it all in, taking into consideration the finer details of your trip such as when, where, the weather etc. Ensuring your pack is protected from water is crucial to both your comfort and your safety.
With these tips and tricks in mind, you’re ready to go off on your next adventure! Lace up your boots, grab your pack and set off with the comfort of knowing you’re well-prepared for anything the trail might throw at you.
Check out our Multi-Day Hiking Kit List to help you decide what to take.
Wondering where to go on your next adventure? Find your next trail here.
Read more blogs from First Ascent.